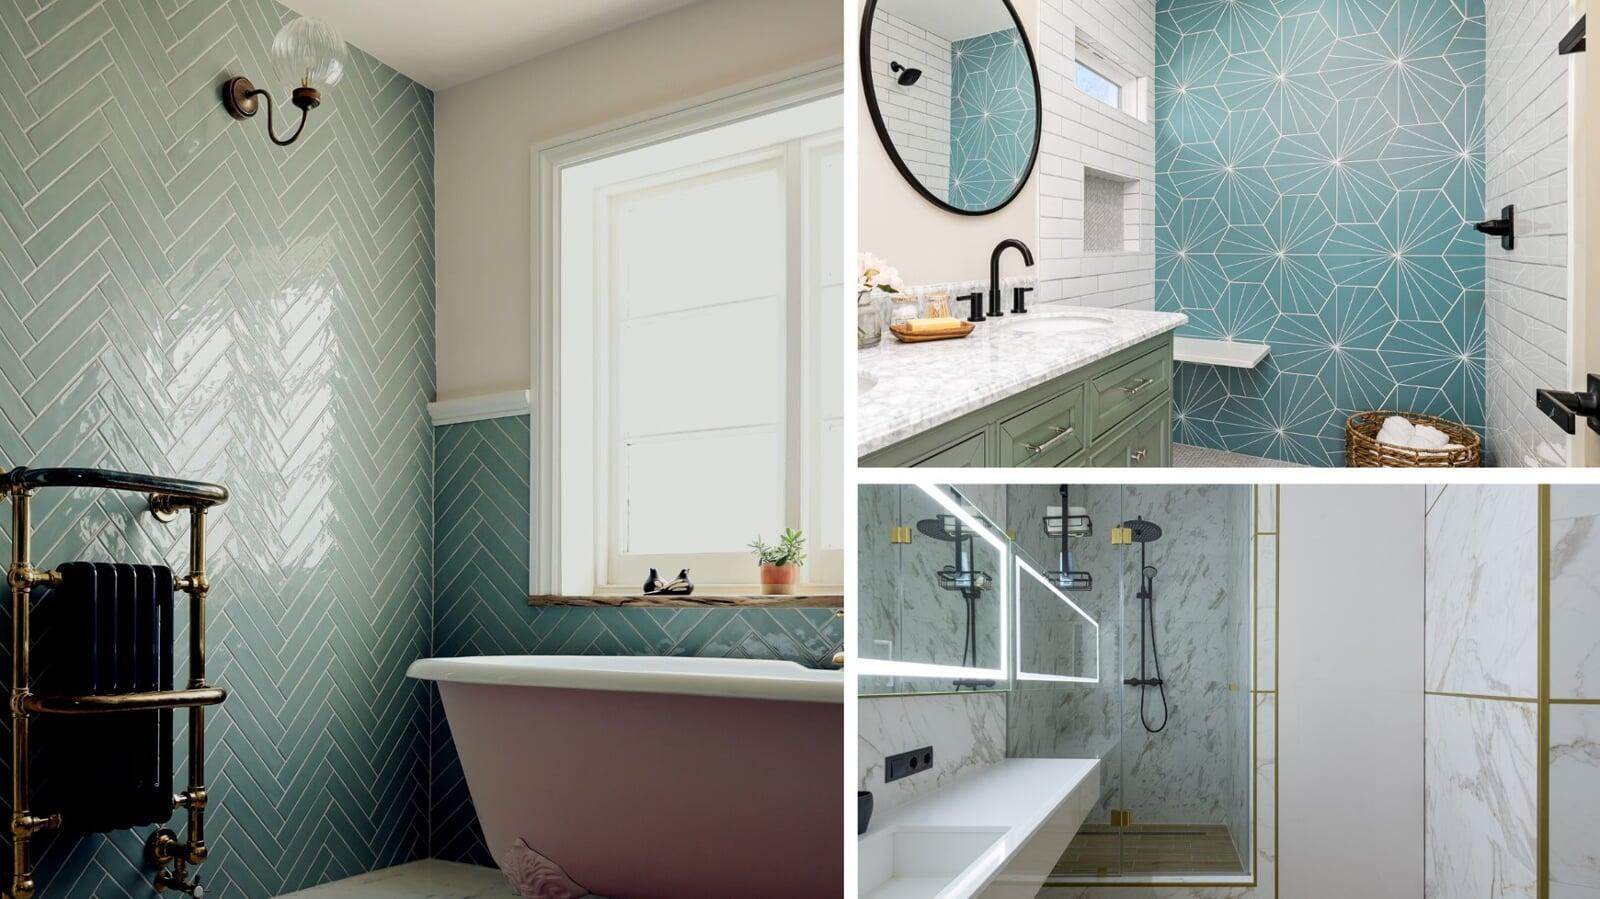
When you’re tiling, the edges can make or break the look of the entire project. Finishing your tile edges properly not only gives your space a clean and polished look, but it also protects the tiles from chipping and keeps everything looking neat over time.
When you’re tiling, the edges can make or break the look of the entire project. Finishing your tile edges properly not only gives your space a clean and polished look, but it also protects the tiles from chipping and keeps everything looking neat over time.
What is Tile Edging and Why is it Important?
What is Tile Edging and Why is it Important?
Tile edging is an essential part of any tile installation, as it finishes the exposed edges of tiles to create a polished look. Without proper edging, the raw and unfinished tiled edges can be left exposed, which not only looks incomplete but also makes the tiles prone to damage. In addition to protection, tile edging enhances the overall appearance of a space. It provides a clean and cohesive look, blending the tiles with surrounding surfaces.
What Are the Best Ways to Finish Tile Edges?
What Are the Best Ways to Finish Tile Edges?
There are three primary options for finishing tile edges:
- Mitered Edge
- Profile Edge Trims
- Bullnose Tiles
Let’s explore each tile edging option in detail to find the best fit for your needs. By understanding these options, you can ensure a polished and professional appearance for your tile installation, enhancing both style and durability.
01. Mitered Edge
01. Mitered Edge
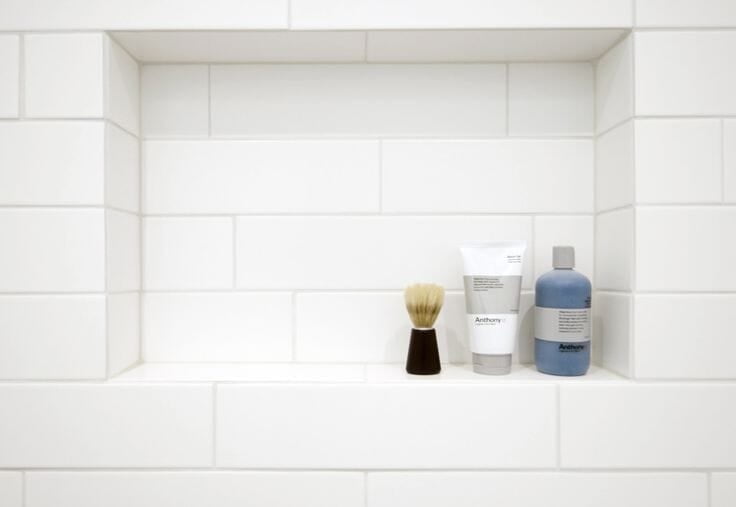
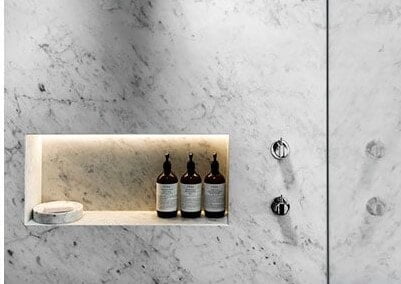
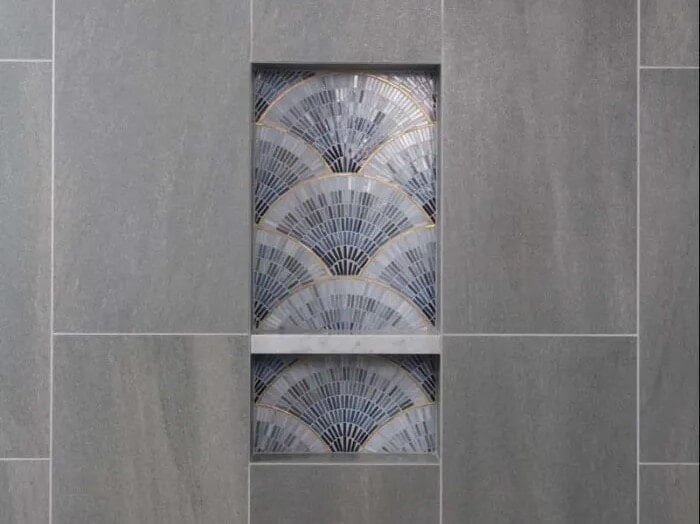
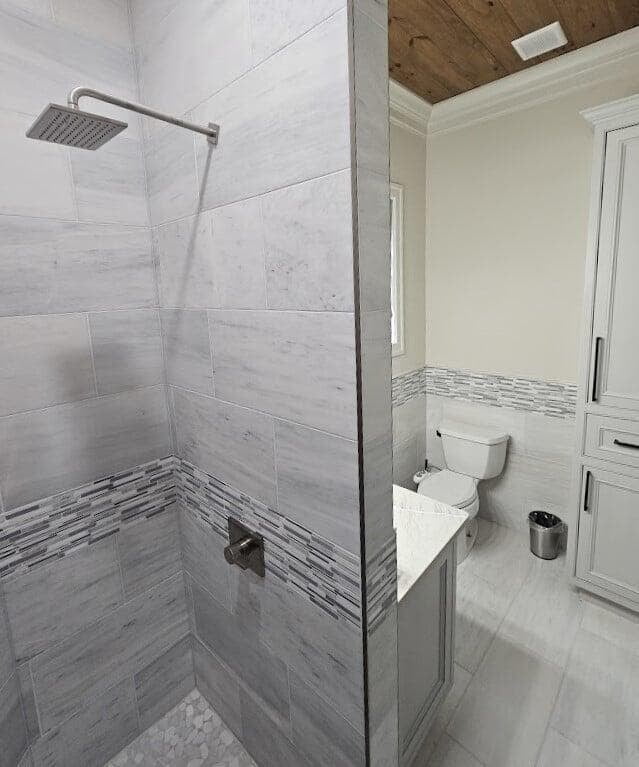
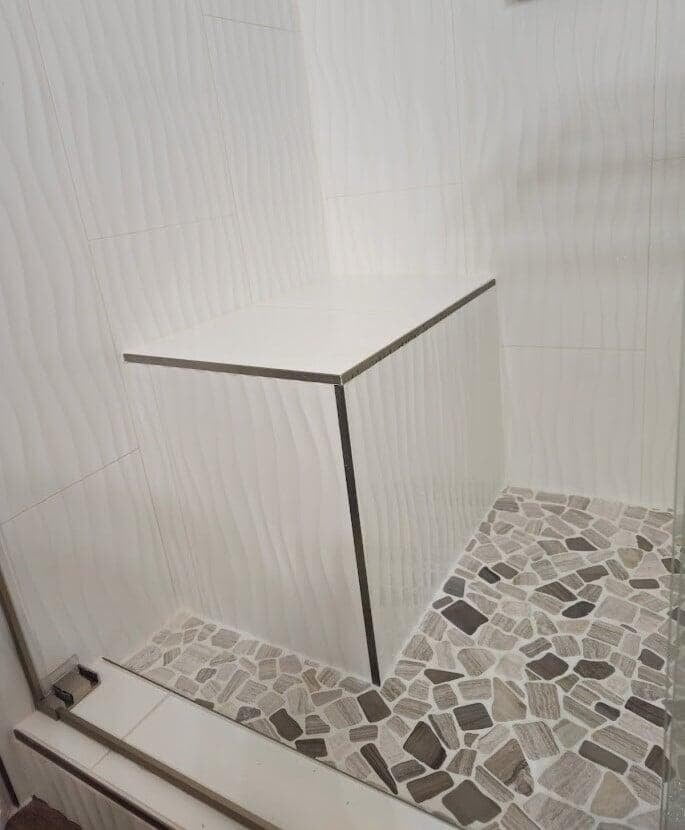
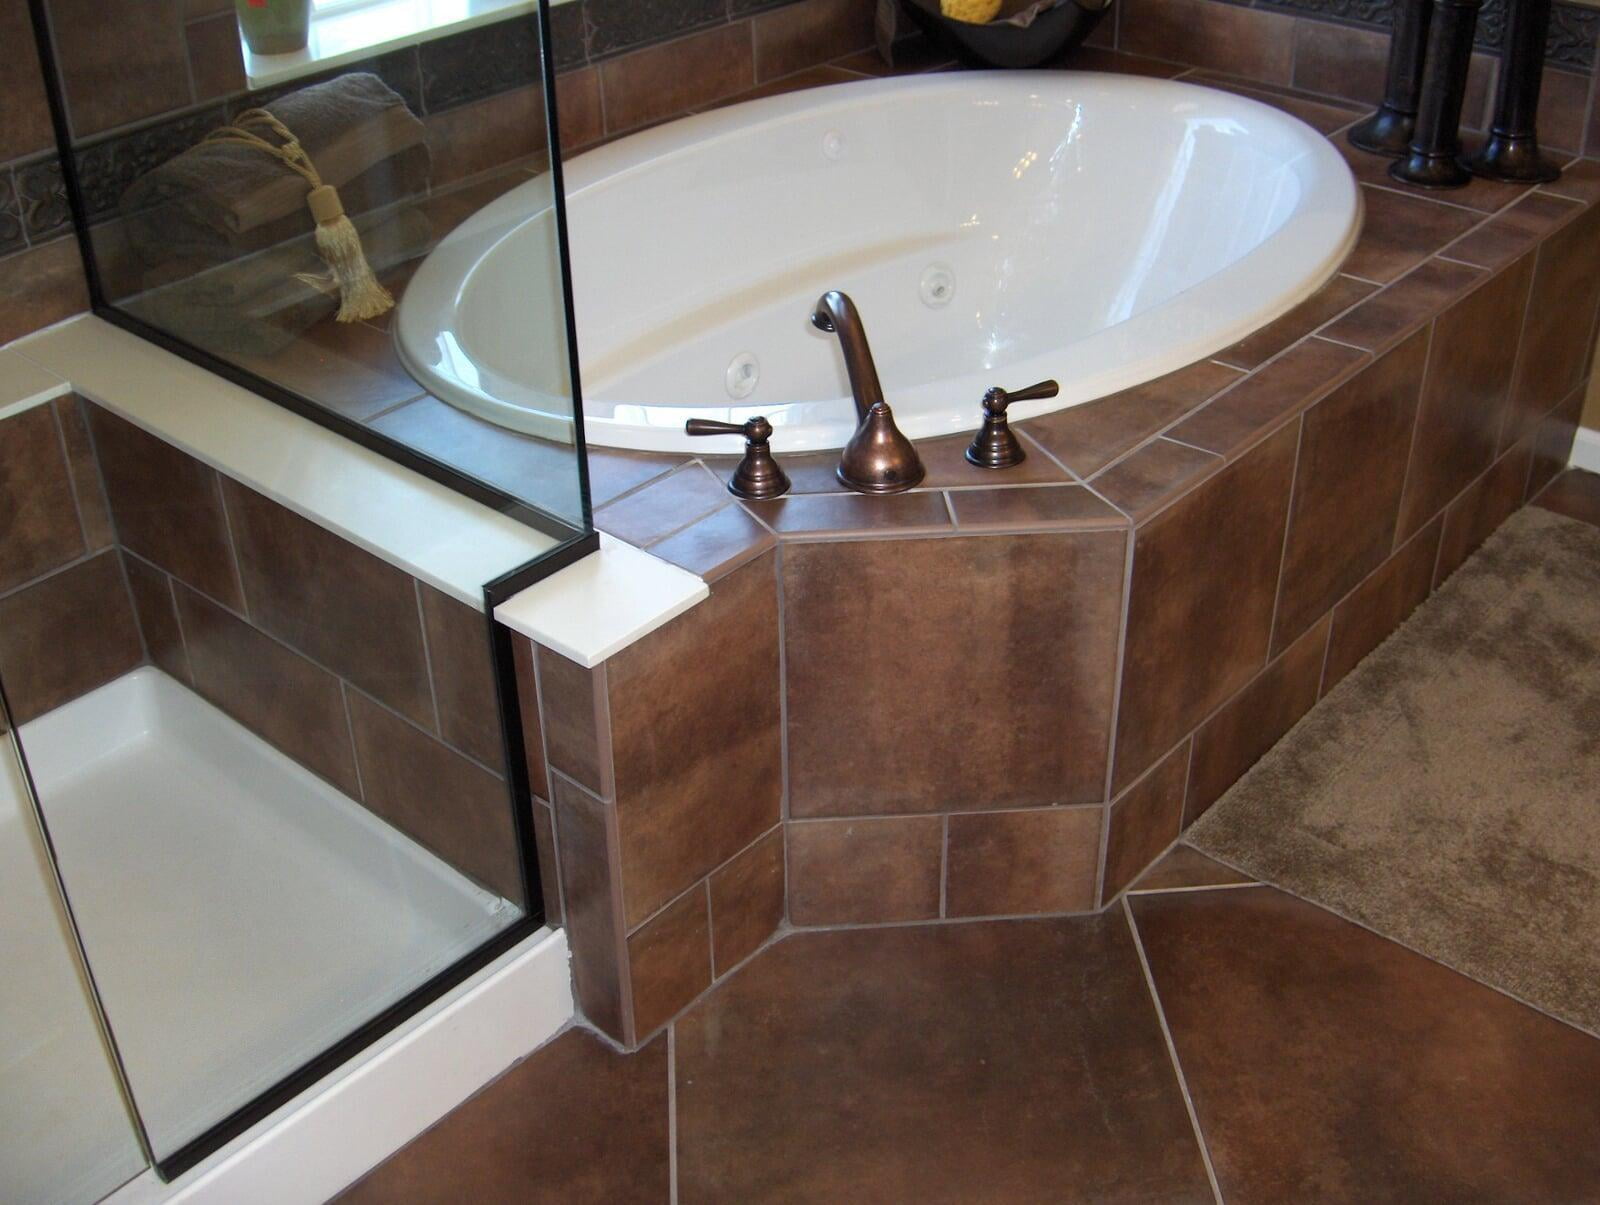
Mitered edges are a sophisticated way to finish tile corners. This technique involves cutting the edges of tiles at precise angles, typically 45 degrees, so they meet seamlessly at corners without exposing raw edges. The result is a sleek, trim-free finish that enhances the clean and modern appearance of tiled surfaces.
How Mitered Edges Are Done
How Mitered Edges Are Done
45-Degree Cuts
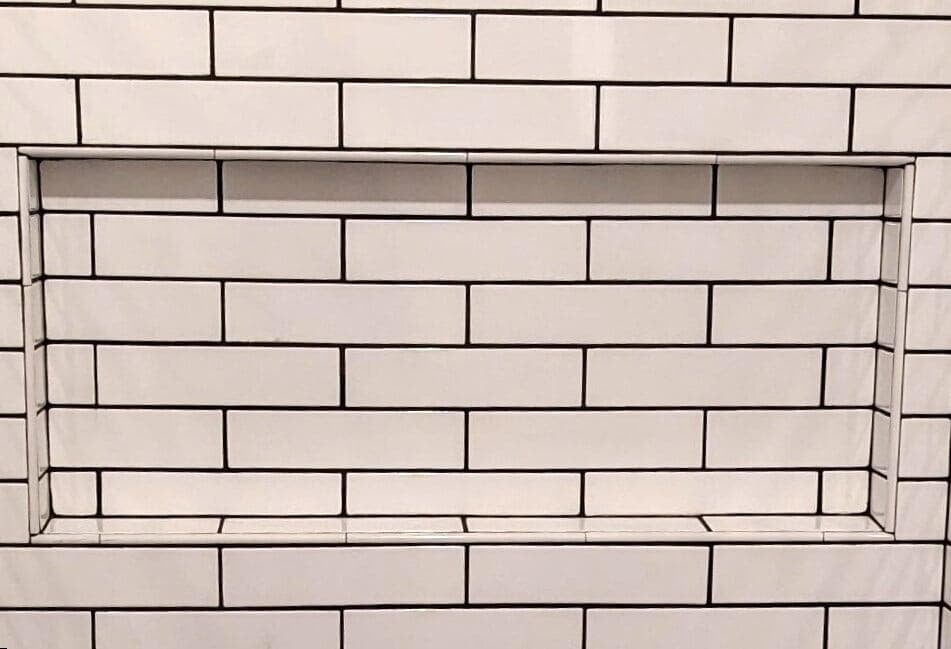
A 45-degree angle cut is the most common approach for mitered edges. The tile is cut at a 45-degree angle to its plane, allowing two tiles to meet at an external corner with minimal visible joint. This technique is frequently used on shower niches, backsplash corners, and other exposed tile edges to create a seamless and elegant finish.
- Beveled Mitered Edges
Beveled mitered edges add a slight bevel along the thickness of the tile before or after the 45-degree miter cut. This additional bevel softens the edge where the tiles meet, reducing the risk of chipping and creating a refined profile.
When to Use Mitered Edges
When to Use Mitered Edges
Mitered edges are perfect for external corners, such as tiled walls, shower niches, and backsplash edges. They’re especially popular in modern or minimalist designs, where a clean, trim-free finish is desired.
Pros of Mitered Edges
Pros of Mitered Edges
Cons of Mitered Edges
Cons of Mitered Edges
02. Profile Edge
02. Profile Edge
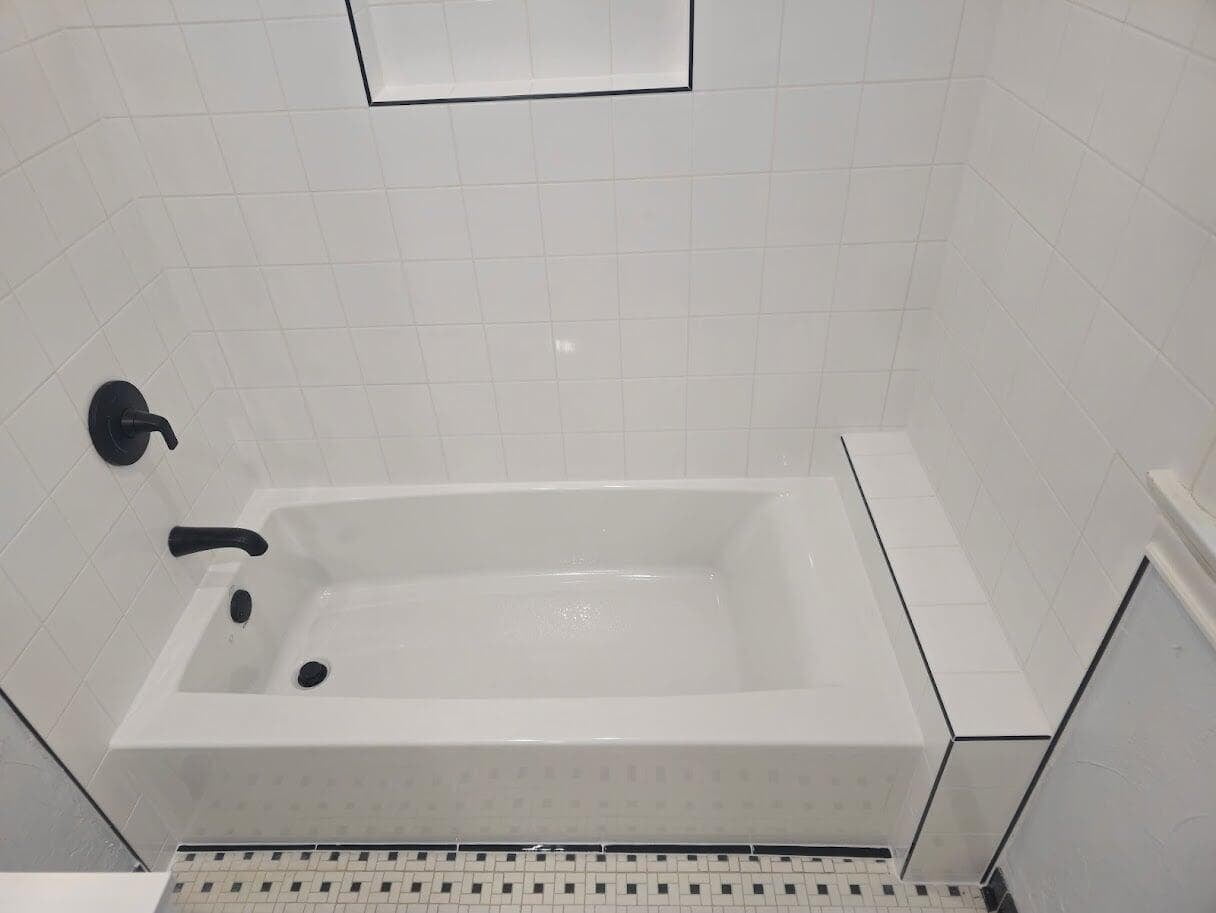
Profile edging, commonly referred to as tile trim, offers an easy and versatile solution for finishing tile edges. These trims effectively cover the unfinished edges of tiles and come in a wide range of materials, colors, and designs, allowing you to find the perfect match for your tile corner trim needs and overall project aesthetics.
Types of Tile Trim for Profile Edging
Types of Tile Trim for Profile Edging
1. Metal Edging
1. Metal Edging
Metal trims are a popular choice for their durability and sleek appearance, offering both protection and style for tile edges.
- Aluminum: Lightweight and corrosion-resistant, aluminum tile trims are great for indoor and outdoor projects.
- Stainless Steel: Durable and strong, stainless steel tile trims are ideal for high-traffic areas or spaces requiring extra hygiene, such as kitchens or showers.
2. PVC Profiles
2. PVC Profiles
PVC, or plastic profiles, are an affordable and lightweight option for tile trim pieces. They are easy to install, making them ideal for DIY projects or budget-conscious designs. While PVC trims may not match the durability of metal edging, they work well in low-traffic areas.
3. LED-Integrated Profiles
3. LED-Integrated Profiles
Some profiles come with built-in LED strips, combining functionality with style. These trims can add subtle lighting to highlight your tiles, making them perfect for creating visual interest in kitchens or accent walls.
When to Use Profile Edge Trims
When to Use Profile Edge Trims
Profile trims are versatile and can be used in almost any tiling project, whether for walls, floors, or countertops. They’re especially useful for protecting tile edges when the tile edges are uneven or the material isn’t suitable for mitering.
Pros of Profile Edge Trims
Pros of Profile Edge Trims
Cons of Profile Edge Trims
Cons of Profile Edge Trims
03. Bullnose Tiles
03. Bullnose Tiles
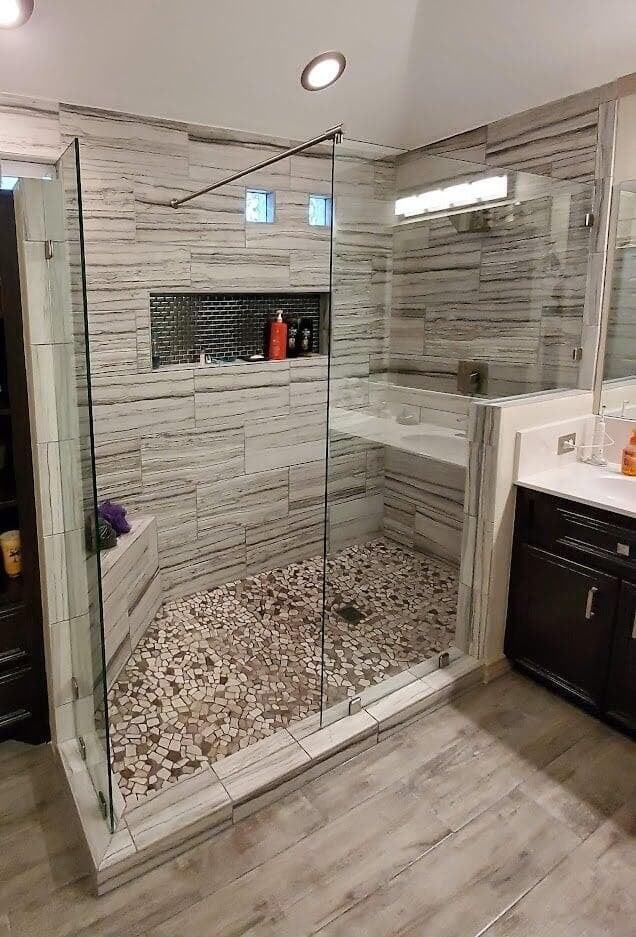
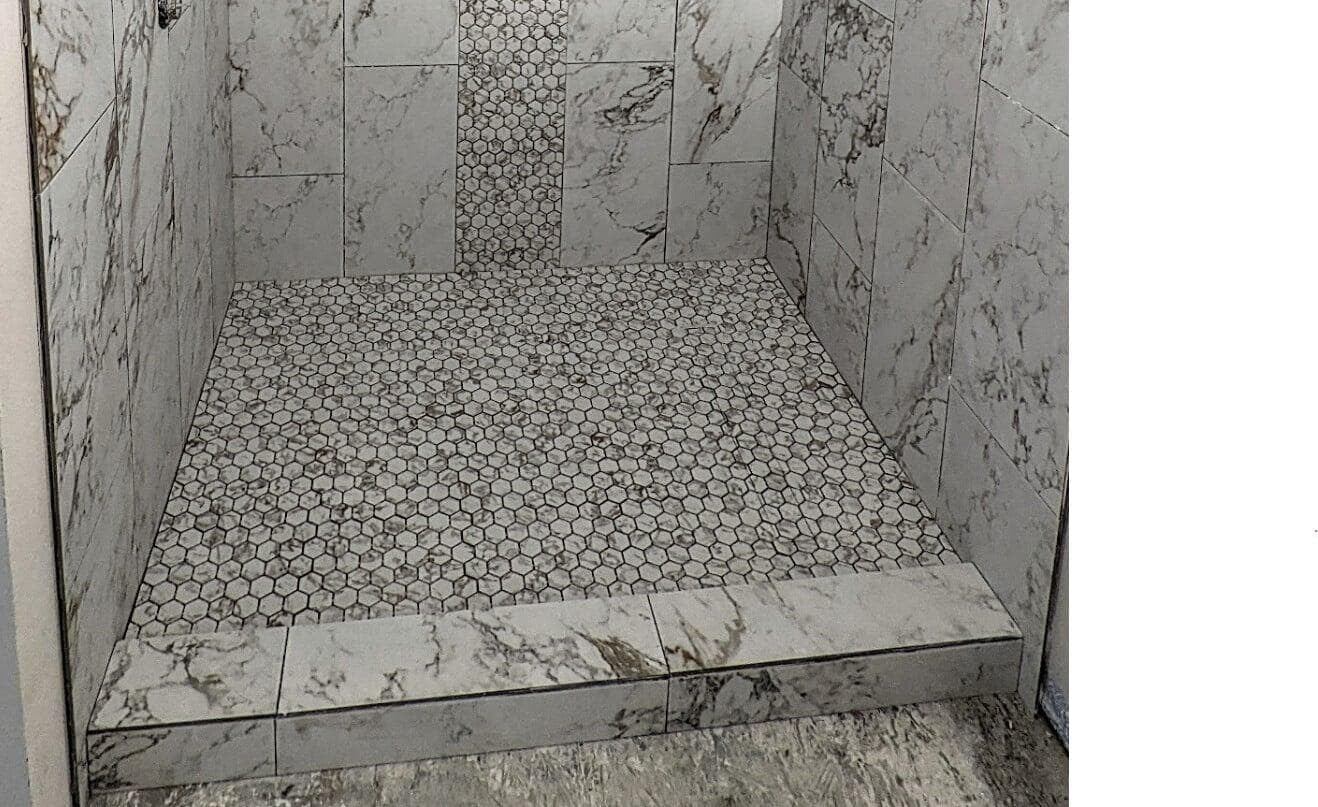
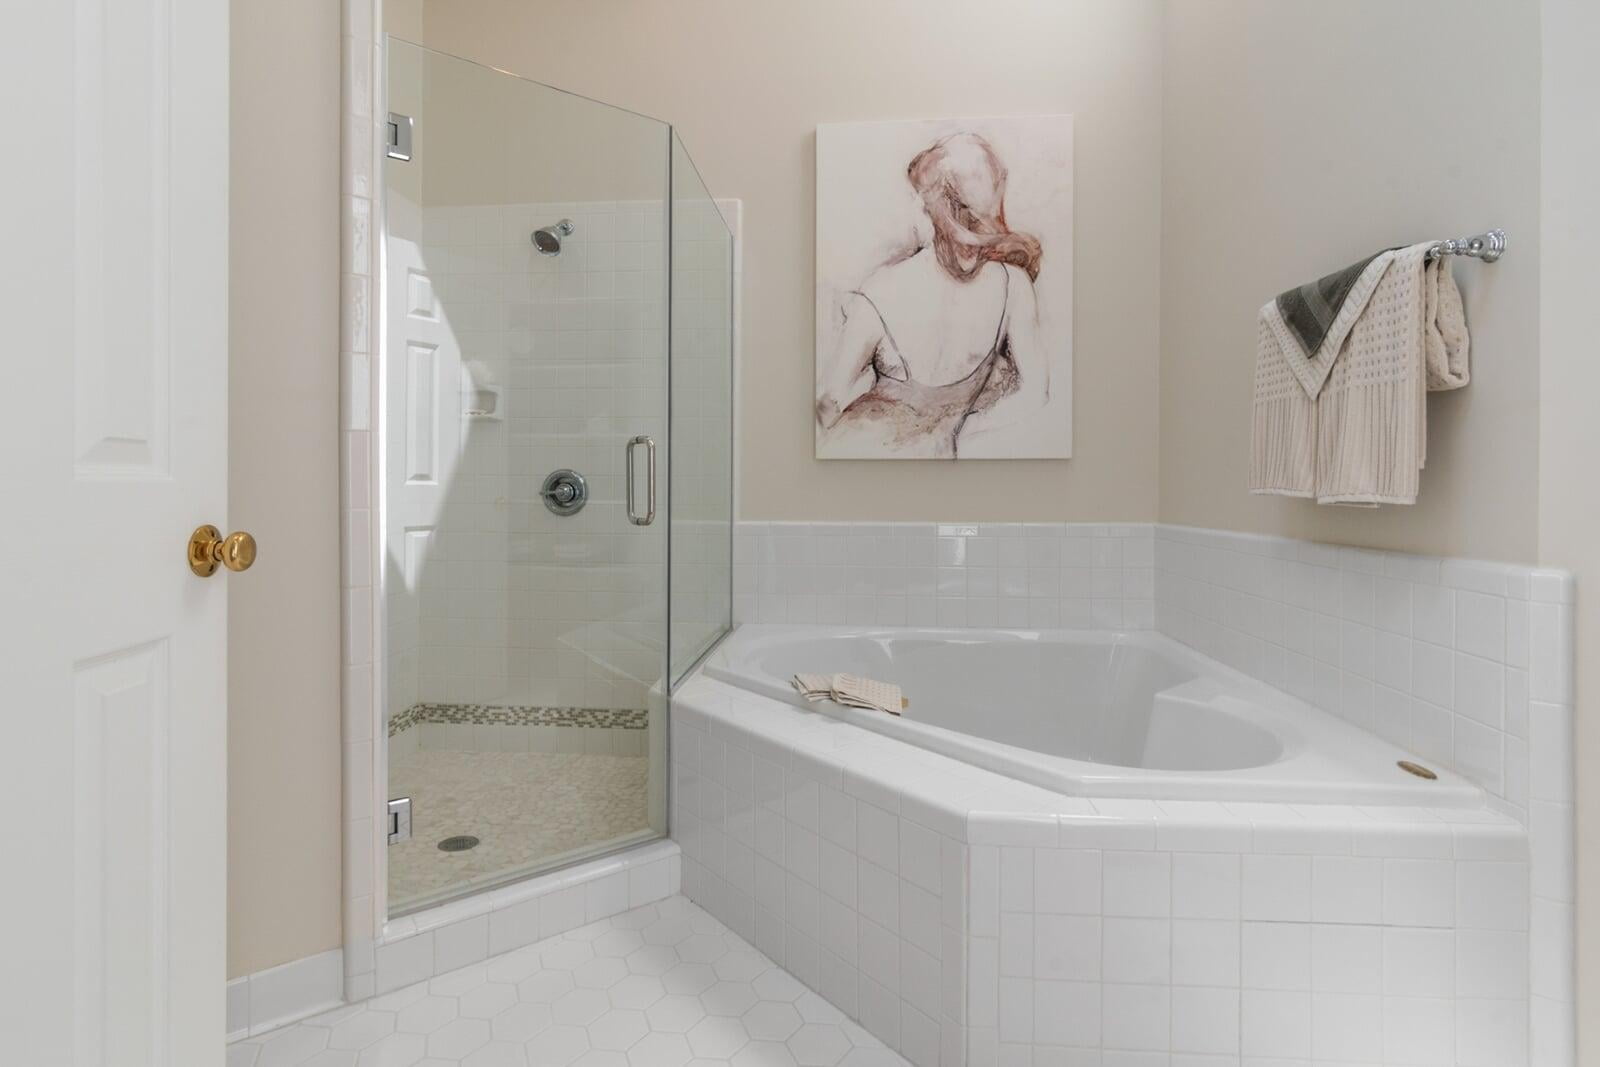
Bullnose tiles are specially designed with a rounded edge, providing a clean and smooth transition from tiled surfaces to walls or other adjoining surfaces. This classic option works well in many tile installations projects and provides a timeless look.
Types of Bullnose Tiles
Types of Bullnose Tiles
1. Single bullnose
1. Single bullnose
Single bullnose features one rounded edge, ideal for finishing the outer edges of tile surfaces.
2. Double bullnose
2. Double bullnose
Double bullnose has two finished edges and can be used to finish off corners or as a decorative border.
3. Corner bullnose
3. Corner bullnose
As the name suggests, corner bullnose is used to finish off corners. They have a curved edge on two adjoining sides, providing a seamless transition between the tile edges and adjacent tiles.
4. Pencil bullnose
4. Pencil bullnose
Pencil bullnose has a smaller rounded edge, similar to pencil trim tiles. They are often used as a decorative element in tile installations.
When to Use Bullnose Tiles
When to Use Bullnose Tiles
Bullnose tiles are best for projects where you want a smooth transition between a tile wall and surrounding walls or floors. They’re particularly effective in traditional or transitional designs.
Pros of Bullnose Tiles
Pros of Bullnose Tiles
Cons of Bullnose Tiles
Cons of Bullnose Tiles
How to Choose the Right Tile Edging Option
How to Choose the Right Tile Edging Option
1. Design Goals
- For a modern, minimalist design, choose mitered edges or sleek metal profile trims.
- For a classic or timeless look, bullnose tiles offer a softer, polished finish.
2. Tile Material
- Durable materials (e.g., porcelain or stone) work well with mitered edges.
- Fragile materials (e.g., ceramic or glass) benefit from the added protection of profile trims or bullnose tiles.
3. Budget
- Mitered edges are labor-intensive and tend to be the most expensive option.
- Profile trims are cost-effective, especially PVC options.
- Bullnose tiles are moderately priced but may require matching pieces, adding to costs.
4. Maintenance Needs
- Mitered edges require regular cleaning to keep seams looking fresh.
- Profile trims (especially metal ones) are low-maintenance and durable.
- Bullnose tiles are easy to clean and maintain over time.
Tile edging is more than just a finishing touch—it protects your tiles, enhances durability, and elevates the overall look of your space. Evaluate your project’s design, tile material, and budget to select the edging method that best suits your needs.
With the right edging, your tile project will look polished, cohesive, and truly complete! If you're in Corpus Christi or South Texas and need assistance with finishing tile edges for your bathroom remodel, feel free to contact us for expert advice and professional installation services. Our team is dedicated to helping you achieve a seamless transition and a professional appearance for your tiled surfaces, ensuring your space is both beautiful and durable.